Summer is finally here (in my mind at least) and to spice up my patio as well as make my outdoor view a little more colorful, I decided to create an outdoor chandelier! This project nearly fell into my lap when I discovered an old chandelier in my attic back in March. My crafty mind couldn't wait to do something fun with it!
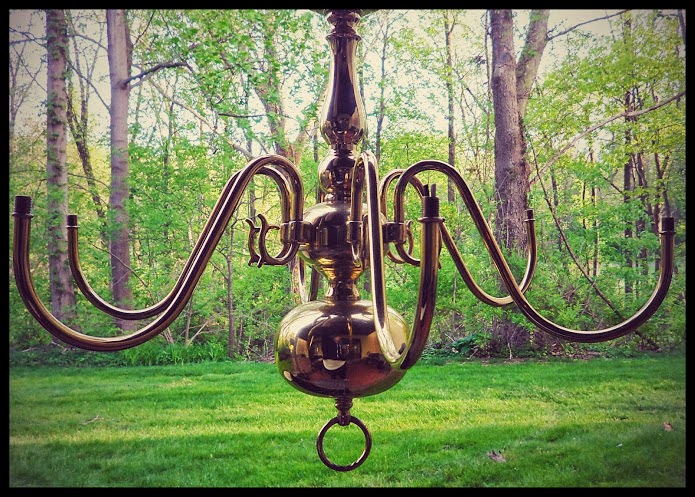
Before any painting or cleaning could be done, I cut the electrical cords out of the chandelier as best as I could and disposed of the old candlestick lights and light bulbs. After removing the electric and with a little cleaning up, the chandelier looked like this:


Below, are also included some small pieces that are "candle-holders" on the end of each arm. They came off in the cleaning process but were not left out of the chandelier makeover!

After I cleaned the dust, grime, and yes, dead spiders, from the chandelier, I was ready to paint! I wanted to choose a fun color that popped against our very green backyard. I chose to use Rust-Oleum Painter's Touch satin spray paint in Lagoon. The top of the can matched the final product perfectly!


For the chandelier, I only need the light part and not the stake. Luckily, the lights popped right off, as if they were made for this project!

When the chandelier and it's pieces were dry and completely painted, I brought it inside to add the lights. I reconnected the pieces as they were before I cleaned it and then added the solar light on top, where originally, a candlestick light was placed. I had to use a little bit of hot glue to secure everything, which was important since my chandelier would be braving the elements outside! When I was finished, I used a screw-in hook that I bought from the hardware store for about $1.00 to hang the chandelier. I wanted to keep it high in order to avoid any collisions with some of our taller friends and family and so that it could accent the space without being in the way. I hung it from the bottom of my balcony-deck that is right above my backyard patio.


The Lagoon Blue color is a little hard to see in the dark of these pictures, but trust me, it's there and really makes the area pop! It's just the sweet touch I was looking for to enhance my outdoor entertaining space at night or during the day!
Below are some pictures of the chandelier in the daytime where you can really see the Lagoon Blue color!


Below are some pictures of the chandelier in the daytime where you can really see the Lagoon Blue color!
No comments:
Post a Comment