Monday, June 23, 2014

Wine...How Charming!

Lately, I've been attempting to create a focus for my crafts before I list them to sell (this Friday)!  Taking my interests into account as well as what I've already made, everything pushed me in one direction...wine!  So for my latest creation (drum roll please) - paper flower wine charms!


I've been using a lot of paper flowers in my designs so for all of my friends who may be wondering how these cute little flowers are made, I've included a step-by-step tutorial below.  I have a lot of pictures and visuals to go along with this one and I couldn't be happier with how my latest wine charms have turned out!

Step #1:


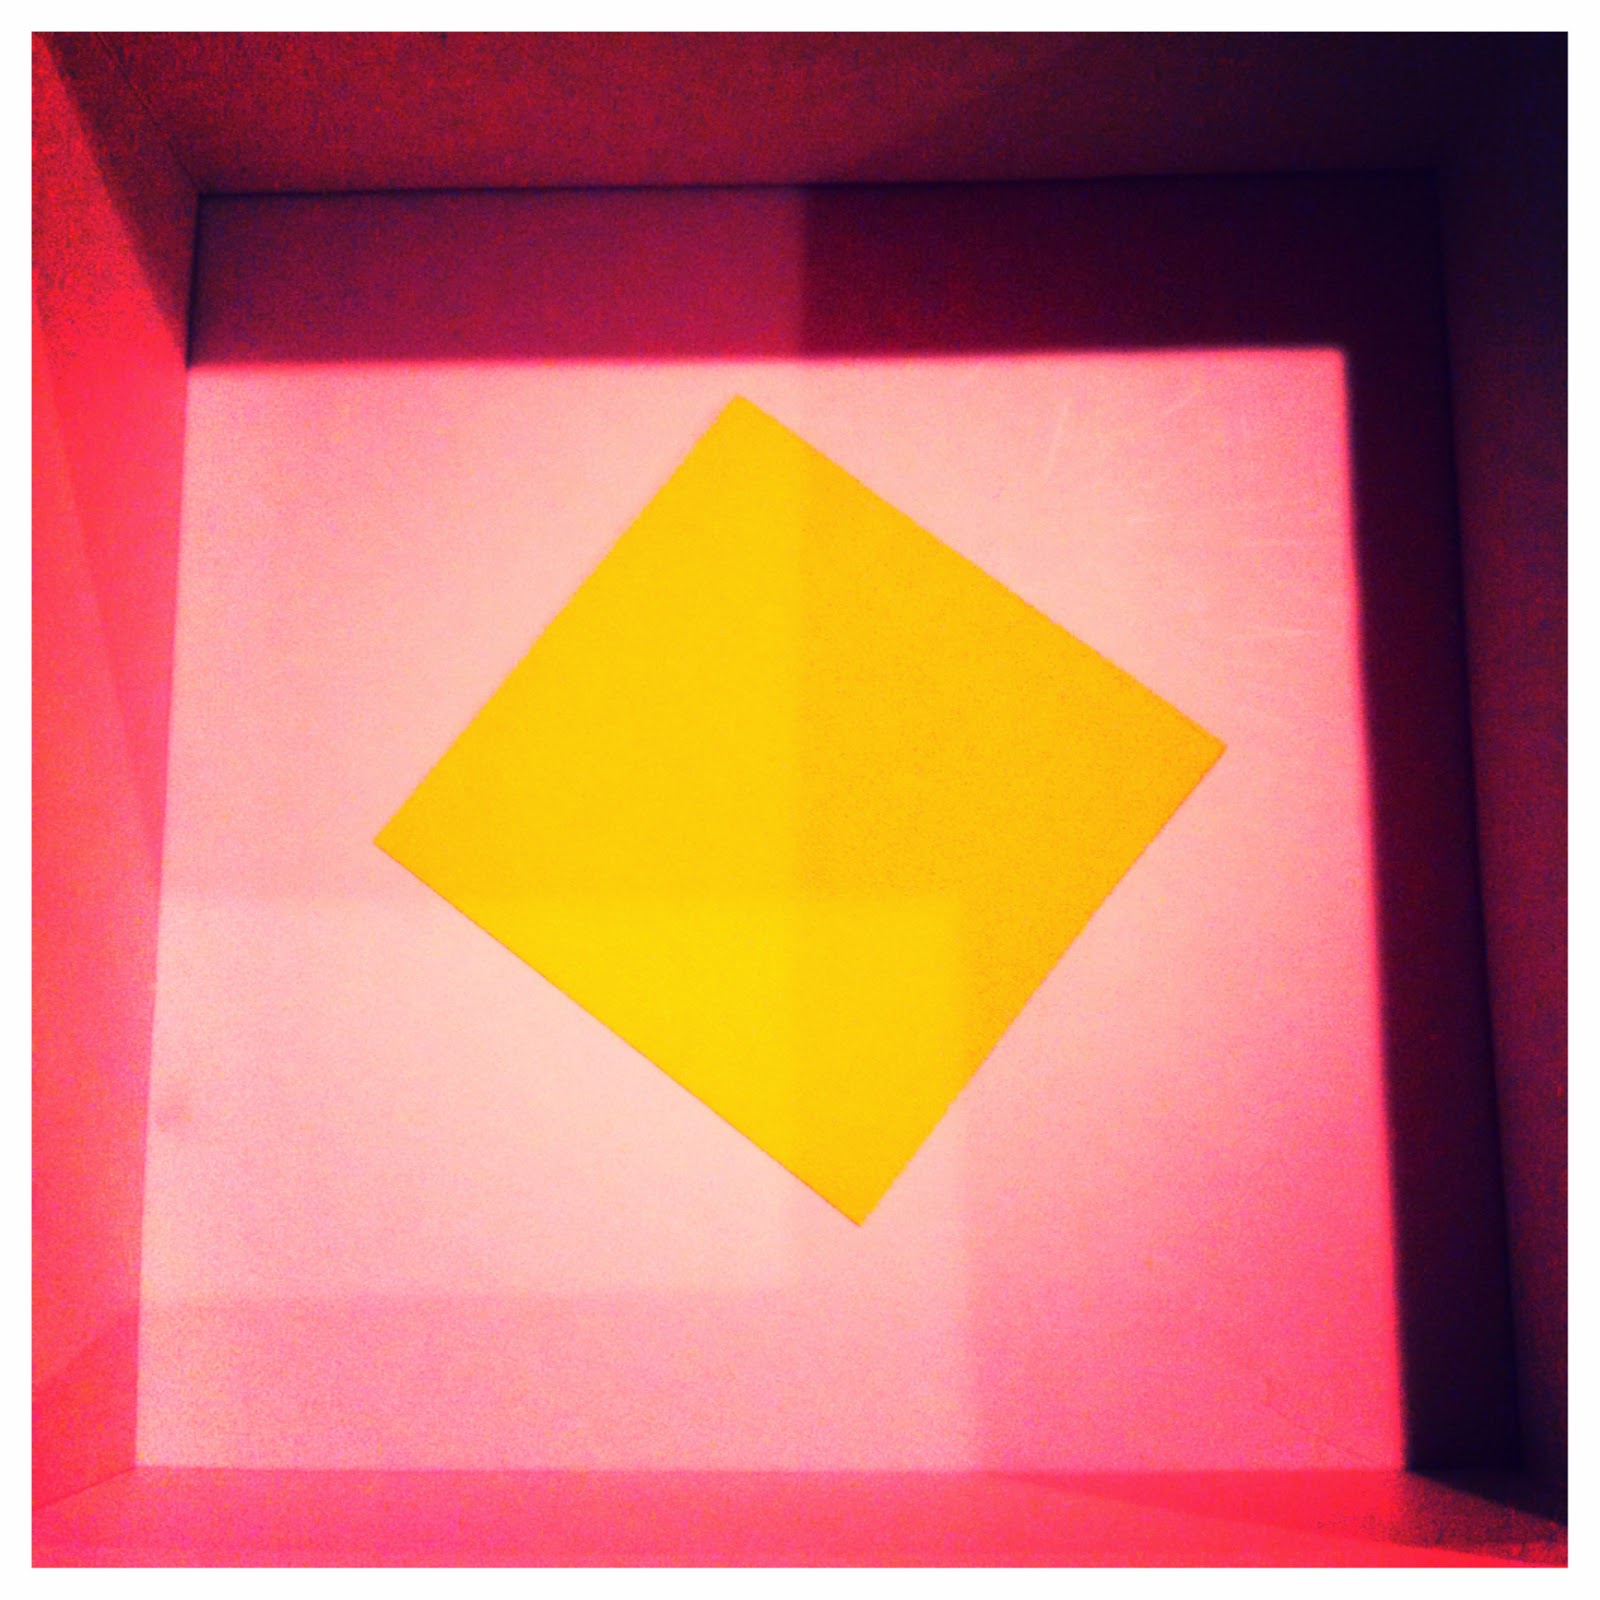
Take out a nice, square piece of paper.  I cut a bunch of square pieces from large scrapbook paper.  Each piece that I cut for the wine charms ended up being about 2" x 2" in size.  I wasn't too exact and cut these pretty roughly because they won't need to stay in square shape (see below).  When you're making your flowers, you can use any size your heart desires - the bigger the square, the bigger the flower!

Step #2:

Start on one side of the paper and cut the square into a circle.  Again, it doesn't have to be exact and can even have some waves cut into it to give the flower different edges once it is completed - try it out and see what you like!  For the wine charms in the picture above, I just used a regular rounded edge.

Step #3:


Once you've cut your circle, start cutting it into a spiral, trying to keep the same width all the way around.  If you wanted to do a wavy edge, remember to cut your spiral with waves all the way through!

Step #4:


Start at the outer edge of your spiral and start rolling it towards the middle.  Try to roll it tightly and round - if you squish it too much, it will turn out with folds and creases instead of the round flower shape that we're aiming for!

Step #5:


After you've rolled and rolled and can roll no more...place your flower in the palm of your hand and let it unravel.  Now you'll start to see the pretty paper flower that you planned on making!  If you really want to secure it and to make sure that it keeps the flower shape you're so proud of, place a dab of hot glue on the back of the flower between the bottom-most part of the flower and the inside curls.  

Viola!  You have a paper flower!


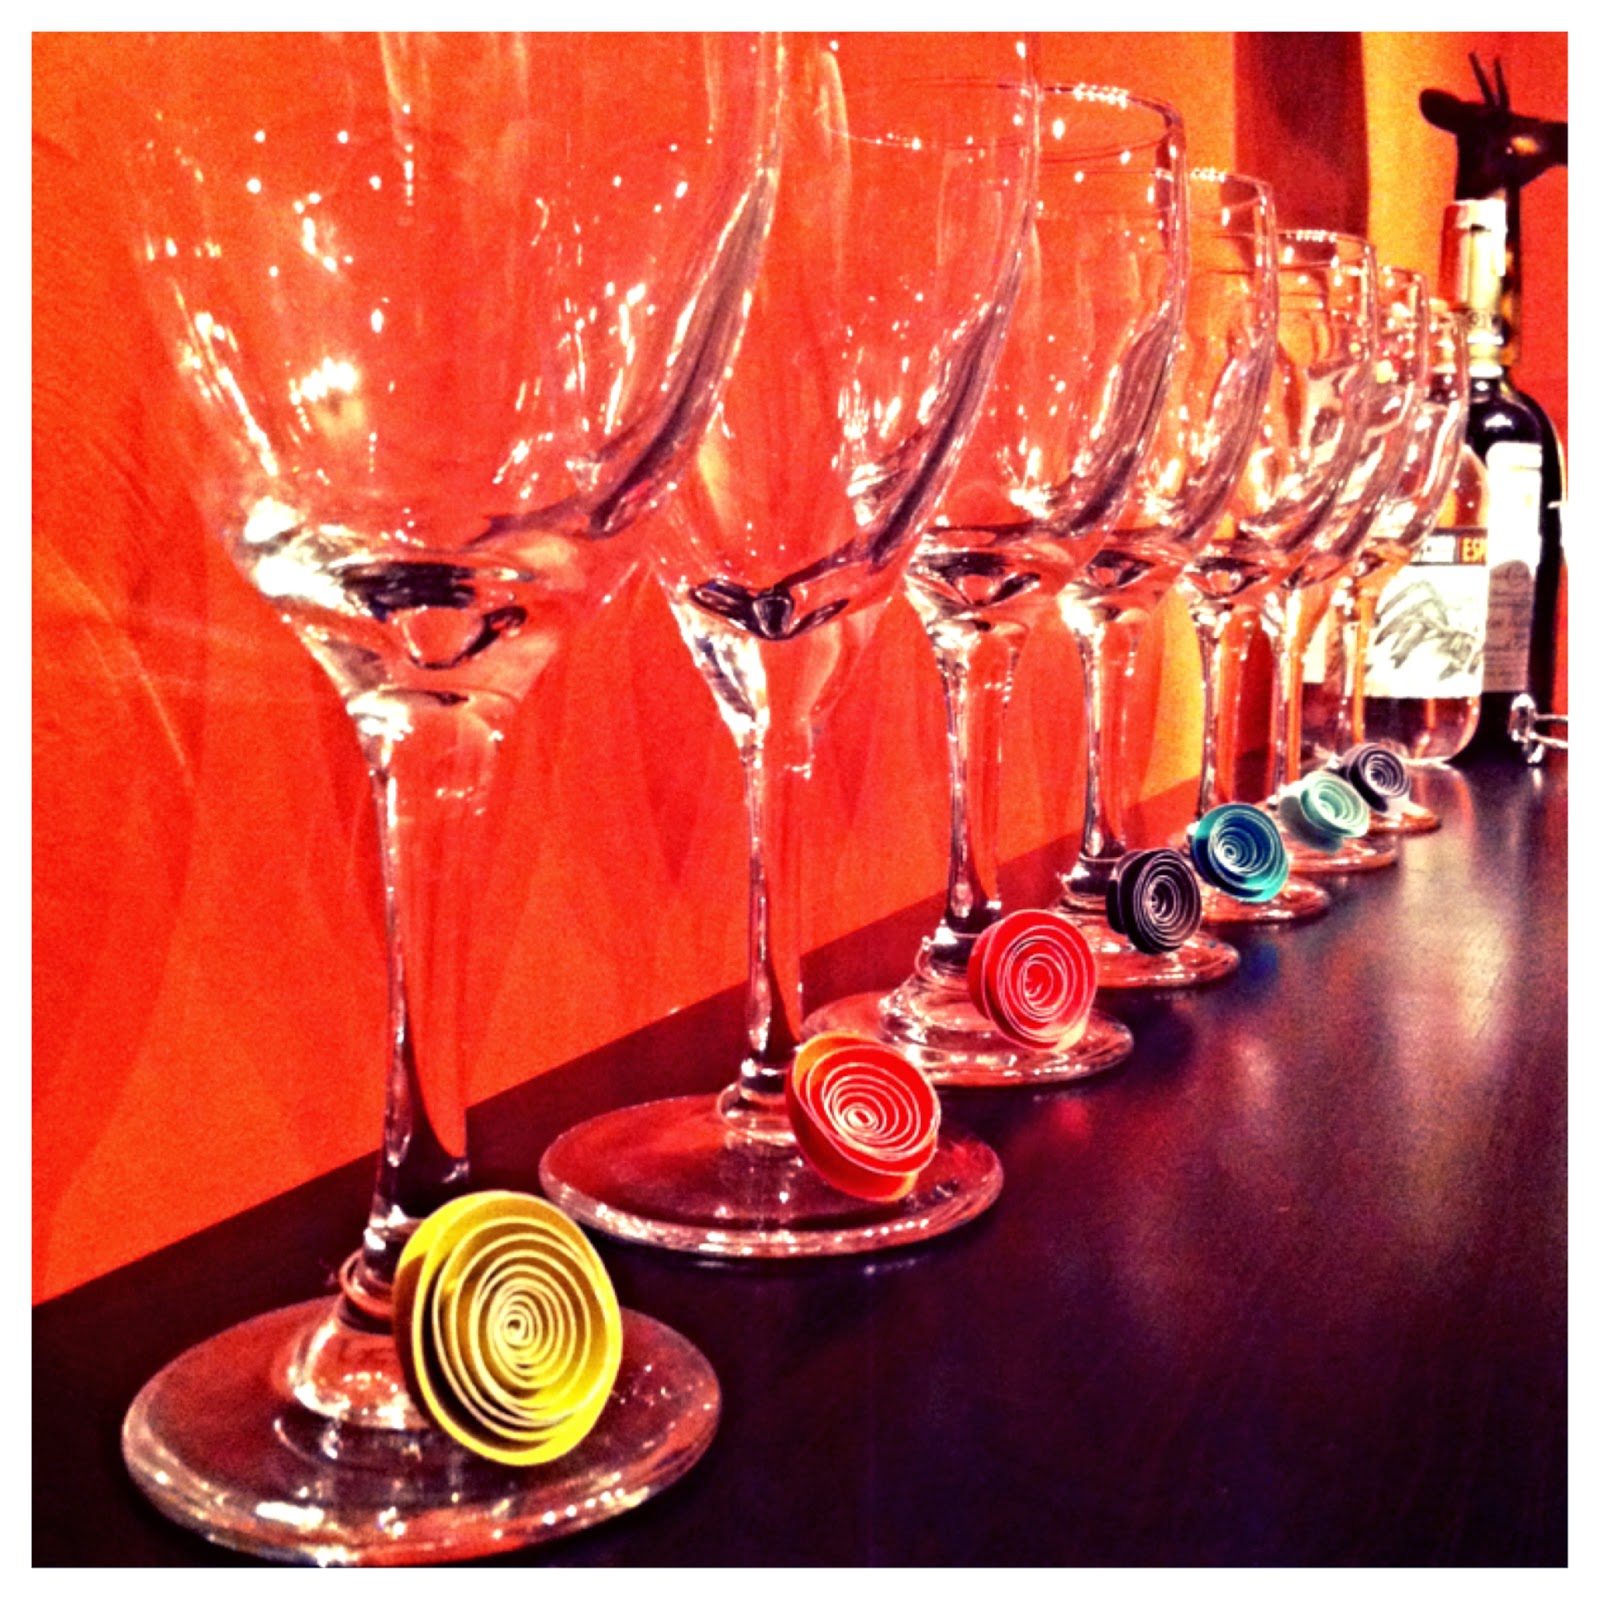
Now, let's take it to the next level and make it into a "charming" little piece of wine glass decor!

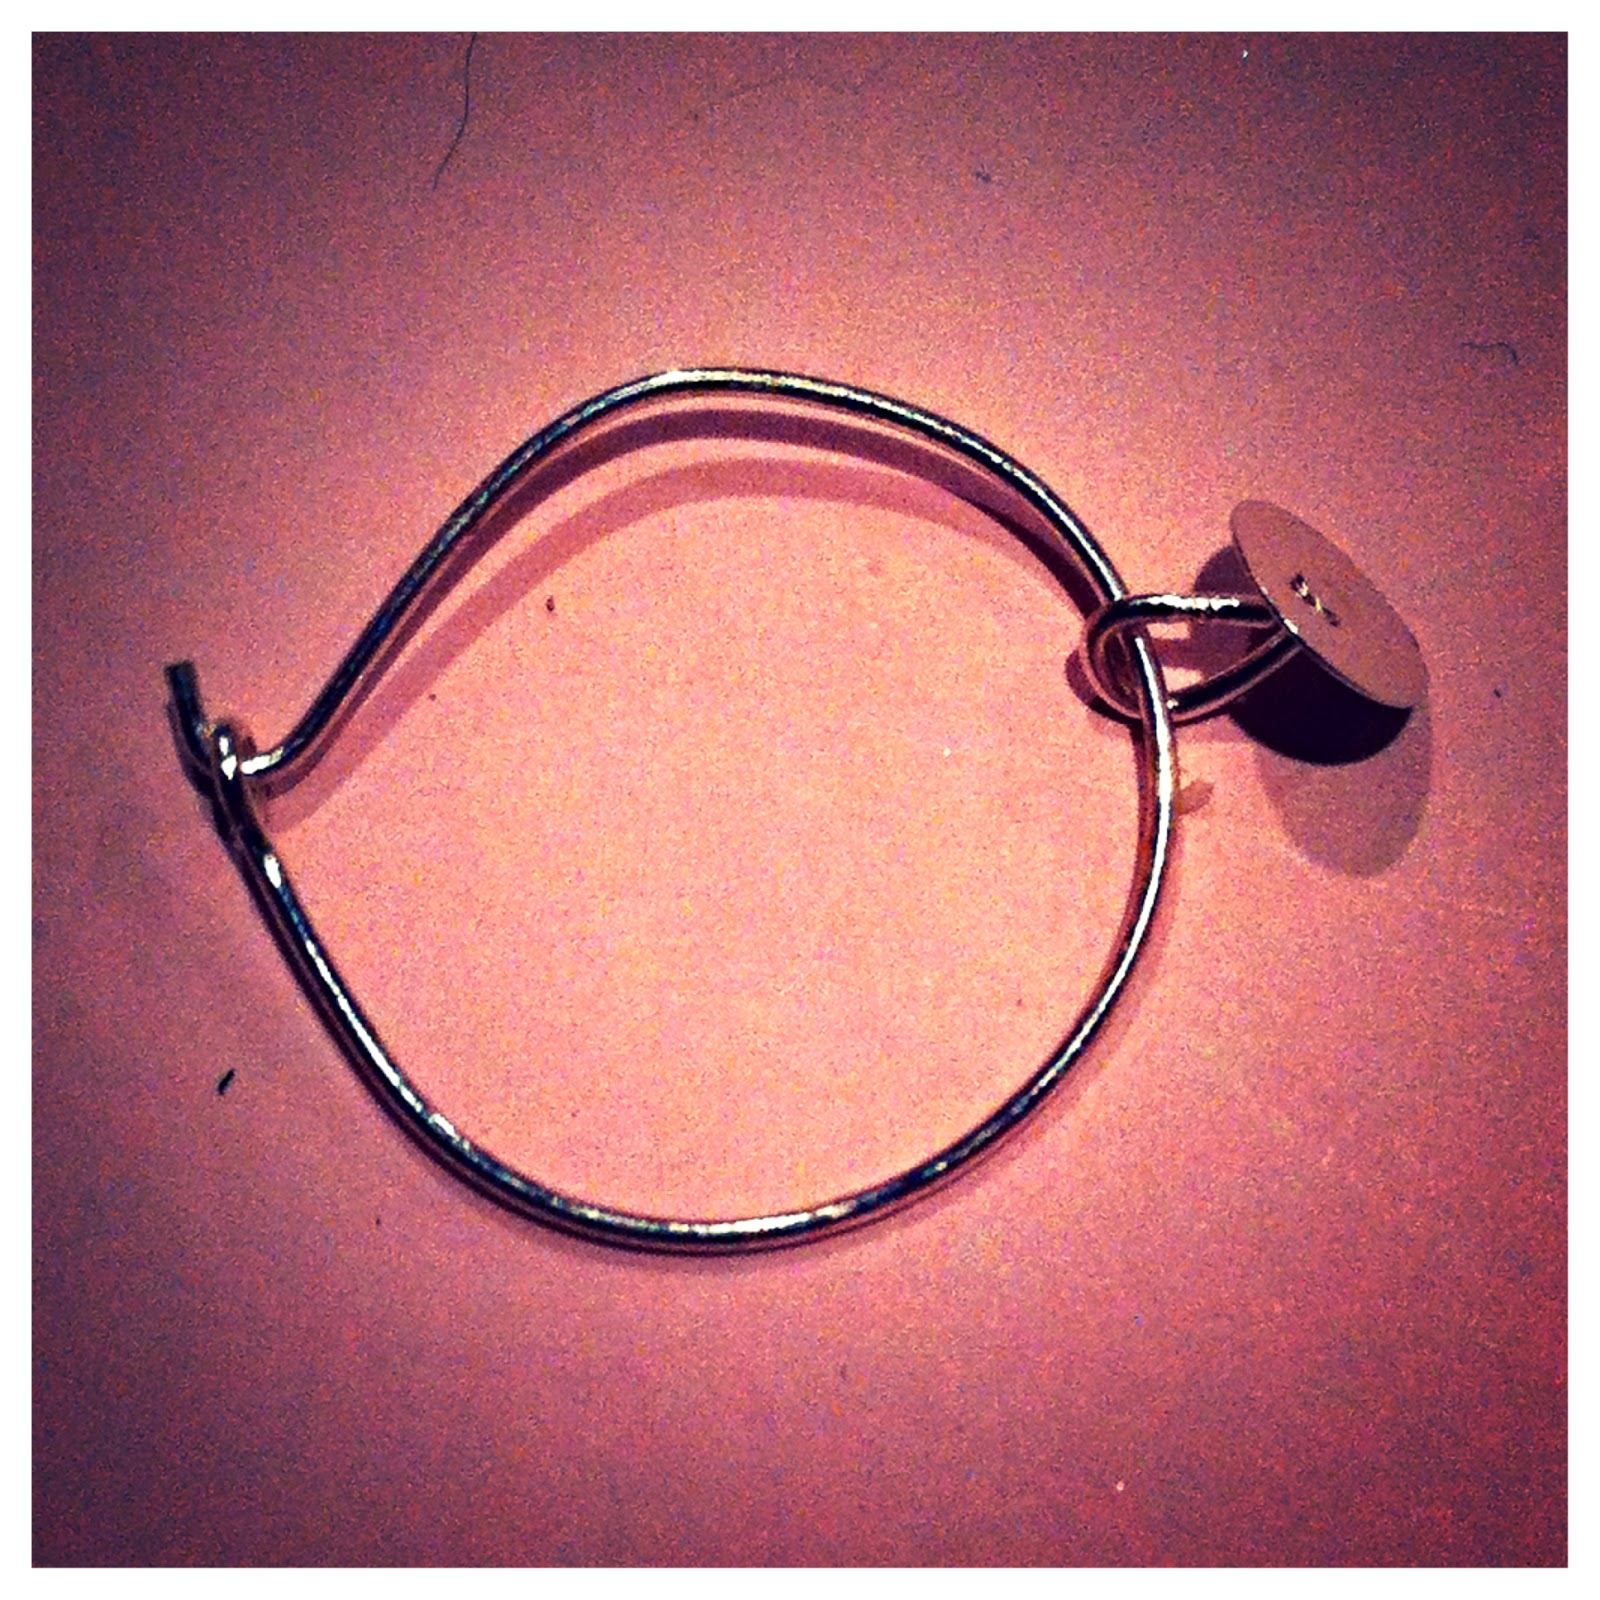
To create the loop that hooks around the stem of the wine glass, I ended up using two different wire "earring" styles purchased from Michael's Arts and Crafts Store.  The first was a hoop earring wire and the second was a traditional earring post because I wanted the charm to dangle from the loop but also be secure enough not to fall off.  I got a little creative with the traditional earring but a little creativity went a long way because it worked out perfectly and was exactly the look and function I was going for!


In order to make this work, I had to bend both of the "earrings."  First, I bent the very end of the hoop earring using a jewelry making/wire bending tool so that it would latch into the rounded end.  This would secure the charm around the wine glass stem.

Next, I bent the post of the other earring (using the same tool) up and over, making sure that one end meets the circle on the other end and creates another loop on this piece.  The loop is necessary so that it can slide onto the hoop earring with room to dangle and move around.

Then...I did just that!  Slide the small piece onto the hoop earring and you'll have the base for your wine charm!


To finish the piece off, now we must add the final, but most important touch - the paper flower.  Just add a little bit of hot glue to the circular, dangling piece of the wine charm base and then secure the back of the paper flower to it.  Keep in mind that a little bit of hot glue goes a long way!

Flip it over and admire your new fancy wine glass accent!


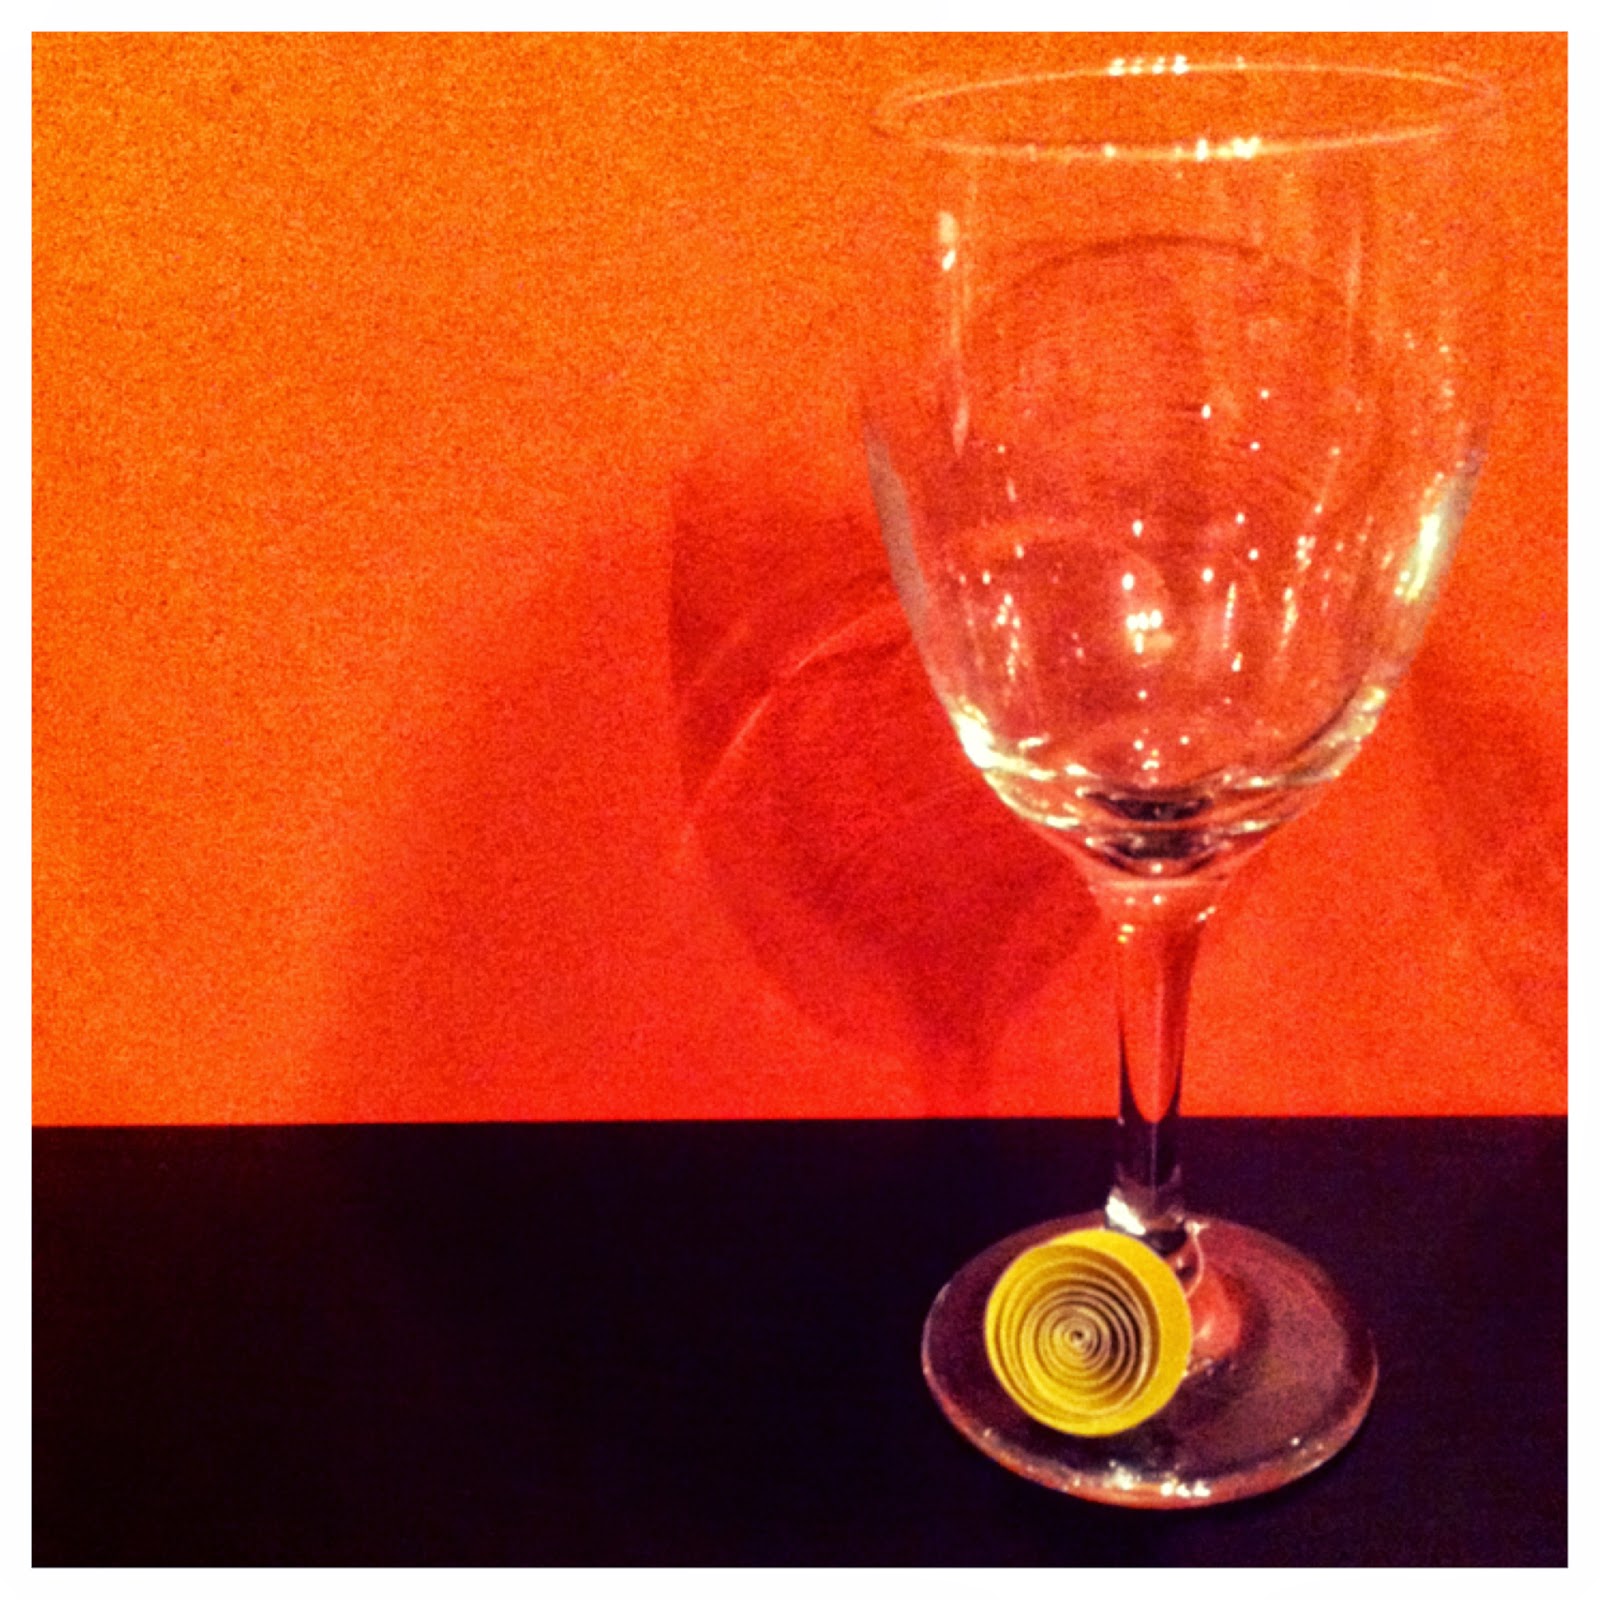
Perfect for a girls night to dress up your glasses and keep track of your wine!  Enjoy!


Monday, June 16, 2014

Chalk It Up!

It's been a few weeks since my last post but in that time, I've been working on some really fun chalkboard projects!  Although I'm still creating, I thought I would share with you some of my favorite chalkboard art pieces from the past 6 months or so.  Before I go any further, you should know that my home-made chalkboard is one of my favorite decorative accents in my home.  I say homemade because the chalkboard is simply a piece of foam board painted with chalkboard spray paint and cut to fit a super fun and fancy Ikea frame (you'll see it in the pictures below).  The chalkboard itself was such an easy project and looks like a million bucks when hung and decorated to match the season!

I try to change the chalkboard each month with a design, quote, or picture to match something big that's happening in my family's life.  It may be a birthday, anniversary, holiday, or even just a general good feeling that's happening among us.  I keep the chalkboard on the wall while I decorate, mainly because the frame is pretty difficult to hang up (thanks Ikea!) but also because it's like a built in easel.  One of my favorite days during each month or season is when I have time to prepare my chalk, wet paper towels, q-tips, coffee and swanky tunes before chalking it up and adding some new flare to my home!

On the chalkboard in my home, I use regular Crayola school chalk.  This works out because I like to change the design pretty often and this chalk can be wiped clean in a few quick swipes.  Also, my chalkboard is hung in the perfect spot where it's not rubbed against by guests or myself and the chalk won't come off unless I tell it to!  On other chalkboards that I make as gifts or to sell, or even place in other spots in my home, I like to use a white paint marker (Sharpie has a great one in a range of sizes from extra-fine to wide) so that the design is permanent but to the untrained eye looks the same as if it were made with Crayola chalk.  Prior to using the permanent marker, which can be pretty intimidating, I always sketch out my design in regular chalk so that I can erase anything I don't like before it becomes a permanent part of the piece.

Like I mentioned earlier, below are some of my most recent and favorite chalkboard designs.  I'm always making new ones and will update with another post when I gather another bunch of favorites together!  Hope this gets you inspired!


This is my first design in my family's first home together!  I put a lot of time and effort into this one as I was still figuring out the chalk, the board, and wanted to creating a lasting impression of how happy my new "home sweet home" made me!


My next design was on the cutest little Scottie-dog chalkboard.  I found this for $1.00 a few years ago and had it hung in my classroom until I decided I liked it better on my coffee bar!  You can really tell I used good old-fashioned chalk in this one from all the smears, but I still love it, especially the writing.


...And then came Thanksgiving!  What a great reminder this was during the holiday season when giving thanks is so important.  Again, the different handwriting styles in this makes me smile and I feel that the word "Thanks" really stands out.  Perfect for Thanksgiving!


Contrary to the last few designs where I felt the words really stand out, in this Christmas season design, the reindeer really catches your eye.  I was nervous tackling this design, but I was so pleased with the results (I didn't erase it until February!)


Come February - Goodbye deer, hello bee!  This design wasn't my favorite and I think I was having a bit of an off-day while I made it (the writing's a little crooked and a little plain, too).  But the bee stands out and is pretty cute!  Will you "bee" my Valentine?


Another coffee shop design!  Can you tell I love coffee?  I found this adorable coffee pot chalkboard at Michael's Arts and Craft Store (already chalkboard painted, too!)  I argued with myself of whether to go with a quote about coffee or one about tea...but you can see which one won!  For this chalkboard I used a paint pen instead of true chalk.


Lastly, my most recent chalkboard design is this paisley owl.  I found the blank owl wood piece at Michael's Arts and Craft Store, painted it up with some chalkboard spray paint, then got to work.  I am proud to say that I created the whole design (in regular chalk first, of course - and then a paint pen) just from a little paisley inspiration and really got carried away with the design.  I was so, so happy with how this one turned out!

Stay tuned for some more chalkboard designs and some new projects, coming soon!

Sunday, June 1, 2014

Outdoor Season, Outdoor Chandelier

Hello friends!

Summer is finally here (in my mind at least) and to spice up my patio as well as make my outdoor view a little more colorful, I decided to create an outdoor chandelier!  This project nearly fell into my lap when I discovered an old chandelier in my attic back in March.  My crafty mind couldn't wait to do something fun with it!

Before any painting or cleaning could be done, I cut the electrical cords out of the chandelier as best as I could and disposed of the old candlestick lights and light bulbs.  After removing the electric and with a little cleaning up, the chandelier looked like this:


Below, are also included some small pieces that are "candle-holders" on the end of each arm.  They came off in the cleaning process but were not left out of the chandelier makeover!


After I cleaned the dust, grime, and yes, dead spiders, from the chandelier, I was ready to paint!  I wanted to choose a fun color that popped against our very green backyard.  I chose to use Rust-Oleum Painter's Touch satin spray paint in Lagoon.  The top of the can matched the final product perfectly!  


I simply took the chandelier and all it's parts outside with some newspaper and sprayed away!  After I painted it, I moved it so that it was covered (under our balcony deck) and let the chandelier dry for a night. The next day, I added another coat, making sure to get the spots that may have been missed the day before. I let it dry once again. Here's some in-process pics:


After I painted the chandelier, I gathered the solar lights that I would use to make it light up the night!  I purchased solar lights that are made for staking into the ground to light up a walkway.  They were only about $1.00 each - Perfect!  I bought six to fit the six arms of the chandelier.


For the chandelier, I only need the light part and not the stake.  Luckily, the lights popped right off, as if they were made for this project!


When the chandelier and it's pieces were dry and completely painted, I brought it inside to add the lights.  I reconnected the pieces as they were before I cleaned it and then added the solar light on top, where originally, a candlestick light was placed.  I had to use a little bit of hot glue to secure everything, which was important since my chandelier would be braving the elements outside!  When I was finished, I used a screw-in hook that I bought from the hardware store for about $1.00 to hang the chandelier.  I wanted to keep it high in order to avoid any collisions with some of our taller friends and family and so that it could accent the space without being in the way. I hung it from the bottom of my balcony-deck that is right above my backyard patio.


The Lagoon Blue color is a little hard to see in the dark of these pictures, but trust me, it's there and really makes the area pop!  It's just the sweet touch I was looking for to enhance my outdoor entertaining space at night or during the day!

Below are some pictures of the chandelier in the daytime where you can really see the Lagoon Blue color!


Sunday, May 18, 2014

Love Is All You Need - Pam's Bridal Shower!

Spring has finally sprung and love is in the air!

Last Saturday (May 10, 2014) was a day I've been waiting and planning for since last year - it was my sister Pam's bridal shower!  After many months of planning and thanks to some of the best bridesmaids and mothers, the day came together perfectly.  Pam was even surprised - something that none of us thought would happen!  She had been snooping and asking questions for months and months about her shower and had been so confident that she would know when it was.  Thankfully, Joe, Pam's fiance is just as tricky as she is and had made this nearly impossible for her.  He had pretended that her shower was on other days, had friends text her "by mistake" about the shower (implying that it was on other days) and even scheduled fake events for the day of.  The night before her shower, Pam even spent time making pasta salad for a BBQ that she thought was happening on the day of her shower!  So despite all of her attempts at knowing, Joe was able to get her to the doors of the hall without her suspecting a thing!

Pam's shower was held at Faith Hall at Trinity Episcopal Church in Buckingham, PA where there were about 75 people in attendance.  Since halls are typically very plain and empty looking - the bridesmaids and I made sure to create some classy and eye-catching decorations to spruce the place up a bit!  My first focus was on table centerpieces.  Since Pam is getting married at the Rosebank Winery in August, I thought a "rustic/wine" theme would be more than appropriate for the shower.  Below are the centerpieces that we ended up creating.


First, for the centerpieces I tightly wrapped wine bottles in thick twine (bought at any craft store).  I used hot glue to secure it and only put small amounts here and there - where it was needed.  Next, I created paper flowers from craft paper in a variety of patterns.  To do this, I cut the paper into squares, then cut each square into a large circle.  I spiraled the circle, making sure that the edges were not perfectly rounded but wavy in order to give each flower more texture.  Then, I rolled the spiraled paper from the outside in towards the middle.  When it was rolled completely, I let the paper unravel and loosen, then secured it with a dab of hot glue to complete the flower.  I made the flowers in a variety of sizes as well.  The bridesmaids helped me in gluing the paper flowers to the twine-wrapped bottles in a cascading pattern.  Each bottle was different and unique!

Next, I used small mason jars to create vases for flowers to go along with the wine bottles.  I measured and glued burlap ribbon around the center of the jar and then topped it with lace ribbon.  We took the centers of the mason jar lids out and filled the jars with baby's breath and berried-flowers to complete each table.  (The centerpieces above are pictured without the flowers)

After we completed the centerpieces, the bridesmaids and I focused on favors for each guest.  We created charms for wine glasses that mimic engagement rings using small clear beads and one "diamond" bead for each charm.  The beads were strung on jewelry rings purchased from any craft store.  The wire at the ends of the charms was bent and closed so that the ends didn't need to link, but could be placed on and stay on each wine glass easily.

Along with each wine glass charm, each guest could help themselves to handmade chocolate lollipops.  I used chocolate lollipop molds in the shape of roses to very easily create the favors.  We thought roses would be charming and appropriate because the wedding will be at the Rosebank Winery in August!  We placed the lollipops in wrappers and then secured them with handmade tags, made by bridesmaid Kelly.


Since a large amount of people were invited to the shower, and many of them were not familiar with all of Pam's bridesmaids, myself included, we thought a "Meet the Maids" display would be perfect!  Each of the bridesmaids wrote a short paragraph about how they met or came to be friends with Pam and included a picture of themselves with the bride-to-be!  Bridesmaids Jenn and Briana put this display together after receiving everyone's note and picture.  At the shower, we strung it between easels, making it visible to all of the guests.  This was a hit at the shower and each lady loved reading about each of the bridesmaids relationships to the bride!


In addition to meeting the maids, the guests could also meet younger versions of Pam and Joe through our "Guess the Age" game and display.  We gathered 10 pictures for both the bride and groom-to-be from a variety of ages and displayed them tastefully on separate boards.  I created each display from a simple piece of foam board covered in some cute fabric.  The fabric was actually a curtain I found on clearance at Wal-Mart for $3.00.  I took a shot on buying the curtain, figuring that I wouldn't be able to get that much fabric for such a low price anywhere else.  In my opinion - it worked out perfectly!  I used left-over twine from the wine bottles to create little "clotheslines" to hang the pictures on with miniature clothespins.  The boards were placed on easels at the shower and directions to "guess the age" were strung between them.  The letters on the boards and the strands between were hand-drawn and cut by myself!


We used a variety of other simple and sweet decorations throughout the hall including a burlap banner made by bridesmaid Kelly...


...and fancy picture frames displaying the shower invitation as well as special pictures and moments of Pam and Joe throughout their relationship, including one taken following their engagement at the 2013 Broad Street Run in Philadelphia, PA.  Joe ran the race and Pam waited for him at the 9th mile.  Little did she know that he would get down on one knee and propose when she saw him (wearing a "will you marry me Pam?" t-shirt)!  They walked the last mile together, newly engaged, and the rest is history!


Lastly, what's a bridal shower without delicious food, drinks, and of course Mimosas!  We went with brunch foods including eggs, french toast, bacon, sausage, bagels, and plenty of fruit.  Bridesmaids Jenn and Briana, and Joe's mom made cute and yummy parfaits, too!


All in all, the day went off without a hitch and I had so much fun planning and crafting for this special pre-bridal event!  I love you sis, and I can't wait for the wedding!